Don’t Let Them Get Lost: Creating a Custom 404 Page in WordPress
Ever landed on a webpage that displayed a bland “404 Not Found” error message? It’s not a pleasant experience, leaving users confused and frustrated. But in the world of WordPress, you have the power to transform this dead end into an opportunity! This blog empowers you to create a custom 404 page that not only informs users they’ve reached a broken link but also guides them back on track.
Understanding the 404 Error
A 404 error signifies that the requested page cannot be found on the server. This can happen for various reasons, such as:
-
Broken Links: Perhaps a typo snuck into a link on your website, or a linked page was deleted.
-
Outdated URLs: If you’ve restructured your website and changed permalinks (the URLs for your posts and pages), old links might still point to the previous locations.
-
External Link Issues: The linked page on another website might have been removed or moved.
Why a Custom 404 Page Matters
A generic 404 message offers little help to a lost user. A custom 404 page does more than just inform – it can:
-
Maintain User Engagement: Don’t let a dead end signal the end of the user’s journey on your site. A custom 404 page keeps them engaged and encourages them to explore further.
-
Boost Brand Image: A well-designed 404 page reflects positively on your brand, showcasing attention to detail and user experience.
-
Improve SEO: Search engines consider user experience when ranking websites. A custom 404 page with relevant content can help maintain your website’s ranking.
Creating Your Custom 404 Page: Three Methods Await
Now that we understand the importance of a custom 404 page, let’s explore the different ways you can create one in WordPress:
Method 1: Editing Theme Files (For the Tech-Savvy User)
This method involves editing your theme’s code directly. Here’s how:
-
Access Your Theme Files: You can use an FTP client or your cPanel’s file manager to access your website’s files.
-
Locate the 404.php File: Navigate to your theme’s directory and look for a file named “404.php.” If it doesn’t exist, you might need to create a new one.
-
Edit the File: Open the 404.php file in a code editor. Here you can add custom HTML, CSS, and even PHP code to design your 404 page. Remember, basic coding knowledge is recommended for this method.
-
Upload and Save: Once you’ve finished editing, upload the modified 404.php file back to your theme directory.
Method 2: Using a WordPress Plugin (The Easier Route)
Several free and premium plugins offer user-friendly interfaces for creating custom 404 pages. Here’s a general workflow:
-
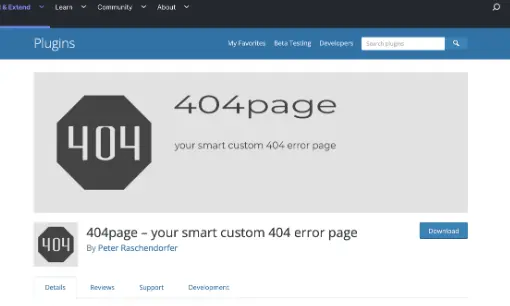
Install and Activate a 404 Page Plugin: Popular options include “Redirection” or “404page.” Search for these plugins in your WordPress dashboard and follow the on-screen instructions for installation and activation.
-
Customize Your 404 Page: The plugin settings will allow you to design your 404 page using a drag-and-drop interface or pre-designed templates. You can typically add text, images, buttons, and even search bars.
-
Save and Preview: Once you’re happy with your design, save the changes and preview your custom 404 page.
Method 3: Using the Full Site Editing Feature (For WordPress 6.0 and Above)
If you’re using WordPress 6.0 or above, you can utilize the Full Site Editing (FSE) feature to create your custom 404 page with a block editor interface:
-
Access the Editor: Navigate to Appearance > Editor in your WordPress dashboard.
-
Search for Templates: In the left-hand panel, locate the “Templates” option and search for “404.”
-
Design Your Page: The editor interface allows you to use blocks to add text, images, buttons, and more to create your custom 404 page.
-
Publish Changes: Once satisfied with your design, click “Publish” to make your custom 404 page live.


Comments are closed, but trackbacks and pingbacks are open.